
A crochet pennant banner is a lovely way to add handmade color to a birthday party, nursery, classroom, summer gathering, or cozy corner at home. Each small flag is quick to make, and you can repeat the same simple shape until you have a garland as long as you need.
If you are learning crochet, this project is a practical place to begin. You will practice making chains, working stitches into a foundation, shaping a triangle, keeping your edges neat, and joining individual pieces into a finished decoration.
This original beginner pattern uses simple triangular pennants worked in rows. You can make every flag the same color, alternate two shades, or use leftover yarn for a cheerful rainbow banner.
What You’ll Learn
- How to choose yarn and a crochet hook for a decorative banner.
- How to make a triangular pennant with simple decreases.
- How to maintain an even stitch count.
- How to add an optional border.
- How to join multiple flags into a garland.
- How to finish, block, and customize your project.
Materials You’ll Need
Gather the following supplies before you begin:
- Yarn: Smooth medium-weight cotton or acrylic yarn. Choose three coordinating colors if you want a multicolor banner.
- Crochet hook: Approximately 4 mm, or the size recommended on your yarn label.
- Scissors: For cutting yarn neatly.
- Yarn needle: For weaving in the loose ends.
- Stitch markers: Optional, but helpful for marking the first and last stitches.
- Measuring tape: Useful when checking that all flags are approximately the same size.
- Optional hanging cord: A length of matching yarn, ribbon, or crochet chain.
- Optional decorations: Tassels, wooden beads, or small pom-poms.
A smooth yarn is easier to work with than a fuzzy novelty yarn because you can see the top loops of each stitch. If you plan to display the banner outdoors, select yarn suitable for the conditions and bring the decoration inside when necessary.
Crochet Abbreviations Used
This tutorial uses US crochet terminology.
- ch: Chain
- sc: Single crochet
- dc: Double crochet
- sl st: Slip stitch
- st: Stitch
- sts: Stitches
- rep: Repeat
- dec: Decrease
- RS: Right side
- WS: Wrong side
A US double crochet is called a treble crochet in UK terminology. Check your pattern’s terminology before substituting stitches.
Before You Start
Choose your colors
A three-color palette is an easy way to create a coordinated look. Try sage green, warm cream, and dusty rose for a soft decorative garland. For a birthday party, use brighter shades. For a classroom or children’s reading corner, choose colors that complement the existing decorations.
Understand stitch counting
Each row begins with fewer stitches than the previous row because you will decrease at both ends. Count your stitches after every row until the shape becomes familiar.
Check your tension
There is no strict gauge for this decorative project. However, consistent tension is important because the finished flags should look similar in size. Make one sample pennant first, then use it as your reference for the remaining flags.
Keep the edges straight
Place a stitch marker in the first or last stitch when necessary. Beginners often lose a stitch at the edge, making one side shorter than the other.
Understand the shape
The pennant begins wide at the top and becomes narrower toward the bottom point. This version is worked flat in rows rather than in rounds.
Step-by-Step Crochet Tutorial
Step 1: Make the Foundation Chain
With your chosen yarn, make a slip knot and place it on your hook.
Chain 13 stitches. Count each chain carefully, including the loop on the hook only as directed by your usual counting method; the active loop is not a separate chain stitch.
The foundation chain forms the wide upper edge of the flag. If you want a larger pennant, you can begin with a longer chain, but you will also need to adjust the number of stitches and rows.
Beginner tip: Keep your foundation chains relaxed. If they are too tight, the first row may curl or become difficult to work into.
Common mistake to avoid: Do not crochet into the wrong chain. Find the second chain from the hook before starting the first row.
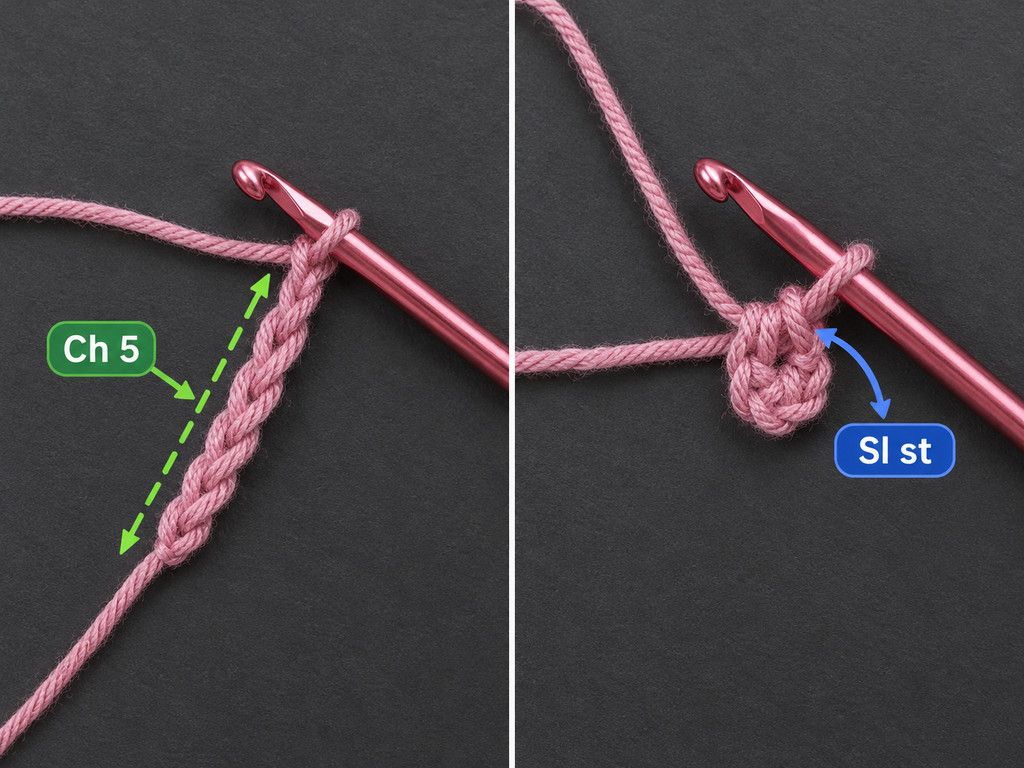
Step 2: Work the First Row
Work one single crochet into the second chain from the hook and continue with one single crochet in each remaining chain.
You should have 12 single crochet stitches.
Chain 1 and turn your work. For this pattern, the turning chain does not count as a stitch.
This first row establishes the top width of the pennant. Lay the work flat and check that the stitches form an even line.
Beginner tip: If you find it difficult to see the chain loops, gently tilt the work toward you and look for the small V shapes along the foundation chain.
Common mistake to avoid: Do not work an extra stitch into the turning chain. Doing so may make the edge wider than intended.
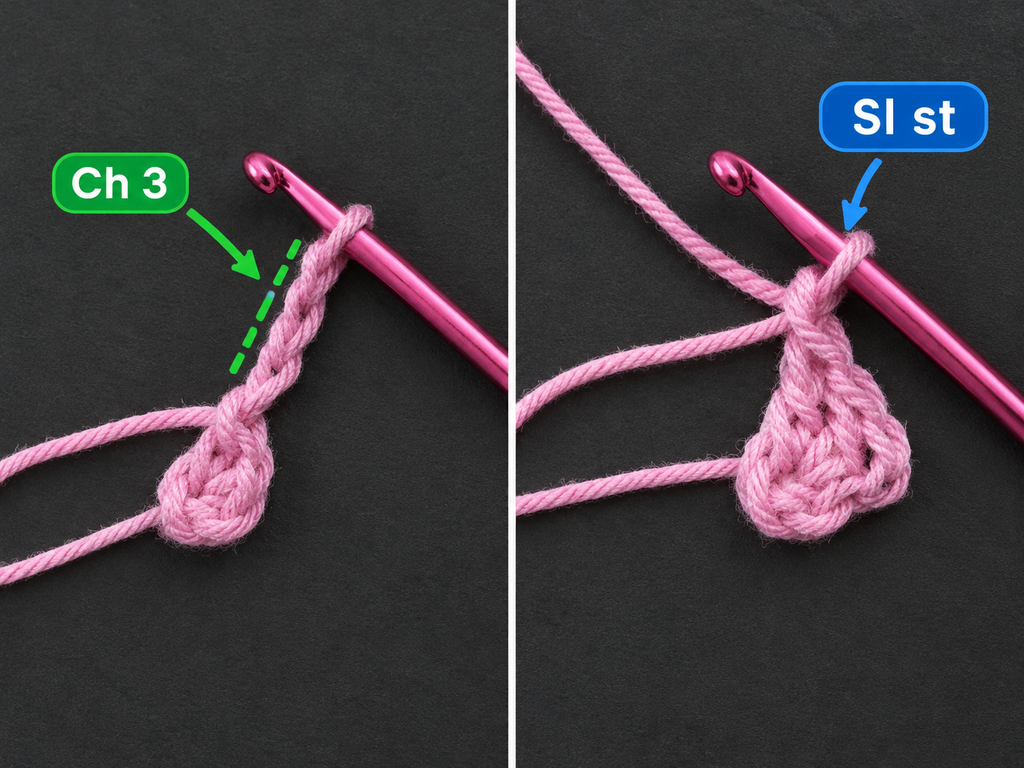
Step 3: Shape the Pennant by Decreasing
Now begin narrowing the flag.
For each new row, chain 1 and turn. Work a single crochet decrease over the first two stitches, work single crochet in each middle stitch, and finish with a single crochet decrease over the final two stitches.
A single crochet decrease combines two stitches into one. Insert your hook into the first stitch and pull up a loop. Insert it into the next stitch and pull up another loop. Yarn over and pull through all loops on the hook.
For a simple triangular shape, decrease once at each end of every row. Continue until only a few stitches remain.
Keep the decreases symmetrical. If you decrease at only one end, the pennant will lean to one side.
Beginner tip: Count the stitches before starting the next row. When both ends decrease by one stitch, the total should reduce by two.
Common mistake to avoid: Do not accidentally skip an extra stitch beside a decrease. This creates a hole or makes the flag narrow too quickly.
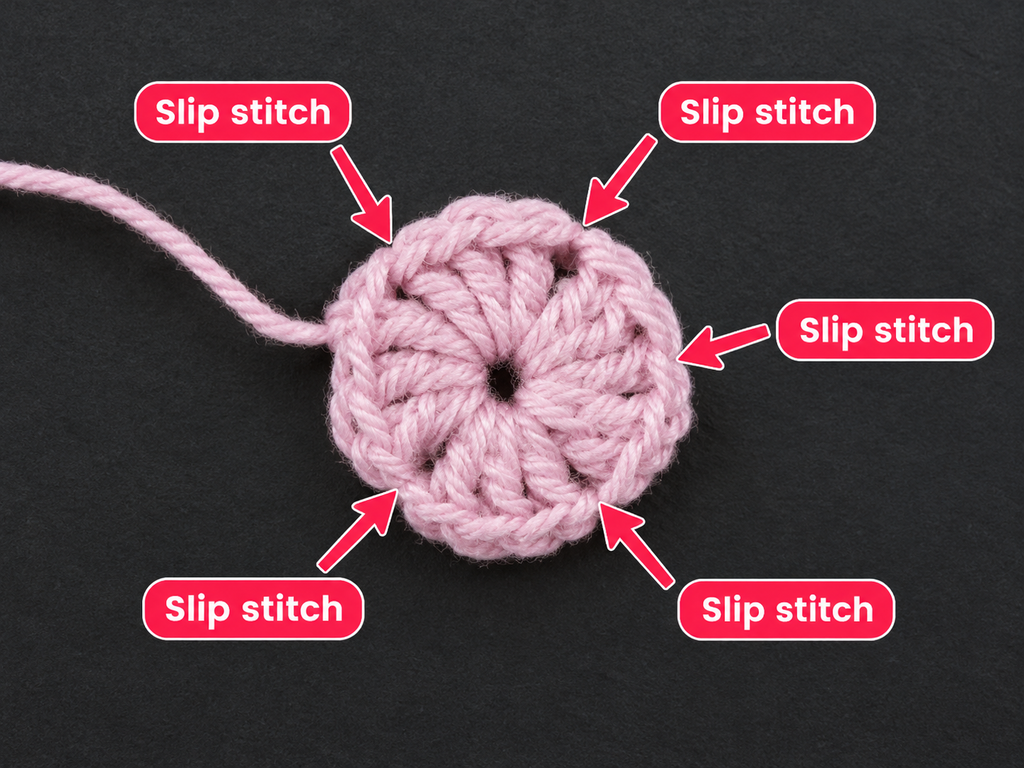
Step 4: Add Color if Desired
You can crochet the entire pennant in one color or add a stripe.
To change colors, finish the final single crochet of the old color until two loops remain on your hook. Yarn over with the new color and pull through those loops. Continue crocheting with the new yarn.
Leave a tail long enough to weave in securely. Avoid pulling the color change too tightly, as this can draw the fabric out of shape.
For a striped flag, change color every two or three rows. Alternatively, make the entire flag in one shade and use a contrasting color for the border.
Beginner tip: Choose your color-change points before starting. This helps all the flags look consistent when they are displayed together.
Common mistake to avoid: Do not cut the old yarn too close to the work. A short tail is difficult to secure neatly.
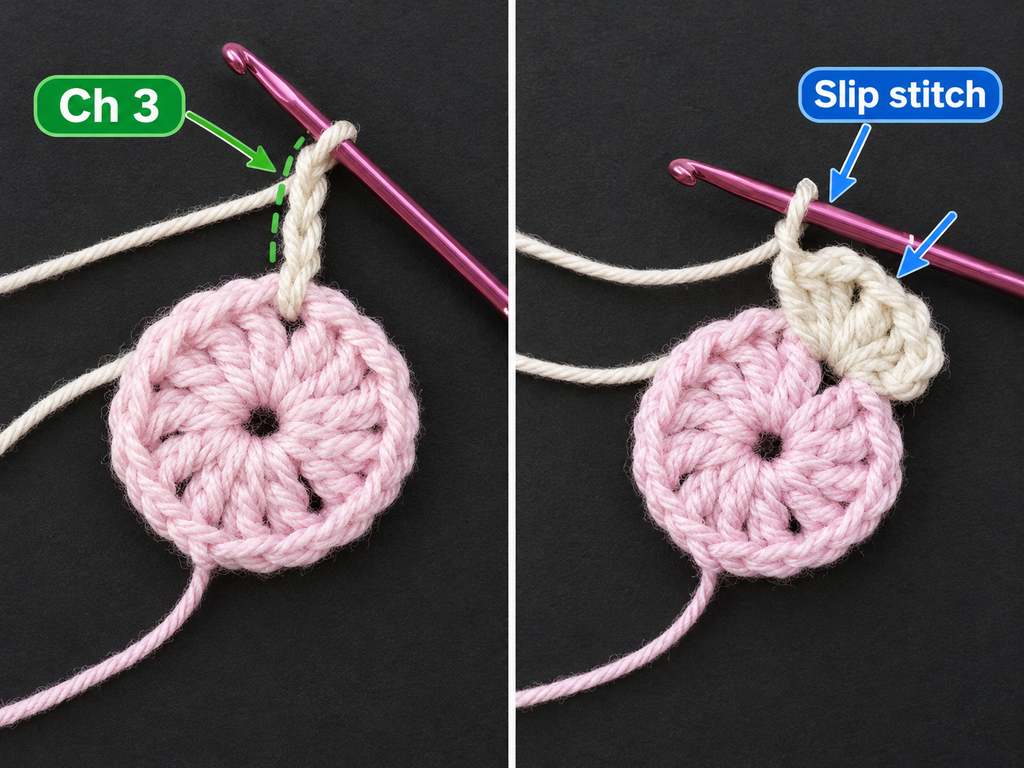
Step 5: Finish the Point
Continue decreasing at both ends until two stitches remain. Work a final decrease to complete the point.
Cut the yarn, leaving a tail of approximately 10–15 cm. Pull the tail through the final loop to secure it.
Lay the flag on a flat surface and check its shape. The top should be wider than the bottom, and both sides should taper evenly.
If one edge is noticeably curved, check the previous rows for missed stitches. Small differences in tension are normal, but large differences are usually easier to fix before making more flags.
Beginner tip: Finish one complete pennant before starting the next. Use it as a visual template for the rest of the banner.
Common mistake to avoid: Do not tighten the final loop excessively. Secure the yarn without pulling the point out of shape.
Step 6: Add an Optional Border
A border gives each pennant a more finished appearance and can help even out small irregularities.
Join the border yarn at the upper edge. Work single crochet stitches along the sides, spacing them evenly around the row ends. At the bottom point, work three single crochet stitches into the point area to help the border turn smoothly.
Continue up the opposite side and across the top edge. Join with a slip stitch if you are working a continuous round or edge.
The number of stitches along the sides will depend on the number of rows and your yarn tension. You do not need to force an identical number onto every edge; aim for a flat, even result.
Beginner tip: If the border pulls the fabric inward, work a few more stitches along the sides. If it ripples, use fewer.
Common mistake to avoid: Do not place too many stitches into the point. Excess stitches can create a ruffled tip.

Step 7: Make the Remaining Pennants
Repeat the process until you have the number of flags you need.
For a small shelf or window, five flags may be enough. For a longer wall decoration, make eight to twelve flags and check the total length before joining them.
Arrange the flags on a table in the order you want them to appear. Alternate colors evenly, or create a repeating sequence such as sage, cream, rose, sage, cream, rose.
Compare the widths and lengths. If one flag is noticeably larger, check its tension and stitch count before continuing.
Beginner tip: Keep a small note of your color sequence so you can reproduce the same order if you need to make extra flags later.
Step 8: Make the Hanging Cord and Join the Flags
You can use a long crochet chain, a twisted yarn cord, or a suitable ribbon.
To make a crochet chain, leave a long starting tail for the first hanging loop. Chain until you have a comfortable length for the first tie. Then attach the first flag across its top edge using single crochet stitches or small slip stitches.
Chain a short gap between flags. Keep the gaps similar so the banner hangs evenly.
Continue attaching the remaining pennants in your chosen color order. After the final flag, chain another length for the second hanging tie and fasten off.
Lay the completed banner flat and adjust the position of the flags before hanging it.
Beginner tip: Use stitch markers to mark where each pennant should begin. This makes the spacing easier to repeat.
Common mistake to avoid: Do not pull the joining chain too tightly. A tight cord can make the flags bunch together.
Step 9: Add Tassels or Pom-Poms
Tassels are optional, but they add movement and a decorative finish.
To make a simple tassel, wrap yarn around a small piece of cardboard several times. Slide the loops off carefully and tie a separate strand around the top. Wrap another strand around the neck of the tassel, then cut the bottom loops.
Trim the strands to an even length. Attach one tassel to the point of each flag using the yarn tails or a tapestry needle.
You can use matching tassels for a coordinated look or alternate colors for a playful banner.
If the decoration will be used around young children, avoid small detachable beads and other choking hazards.
Step 10: Finish and Display Your Banner
Weave in all loose yarn ends with a tapestry needle. Pass each tail through several stitches on the back of the work, change direction, and trim the excess.
If necessary, gently shape the flags by hand. Light blocking may help them lie flat; follow the care instructions for your yarn.
Hang the banner from suitable hooks or a secure cord. Check that the flags hang at a consistent angle and that the ties are strong enough for the intended display.
Pattern Notes and Stitch Notes
Turning chains
The chain 1 at the beginning of each row does not count as a stitch. Work into the first actual stitch of the row.
Stitch counts
The foundation row begins with 12 single crochet stitches. When you decrease at both ends of a row, the next row should contain two fewer stitches.
Right side and wrong side
The right side is the face you prefer to display. Since this simple single crochet fabric is reversible, choose the neater-looking side for the front.
Adjusting the size
For a wider flag, begin with a longer foundation chain and maintain the same decrease method. For a taller flag, continue working additional rows before completing the final point. Make a sample first because changing the starting width also changes the final proportions.
Working with different yarn weights
Thinner yarn makes smaller flags, while thicker yarn creates larger flags. Use a suitable hook and keep the same yarn and hook combination for every flag in one banner.
Common Beginner Mistakes
1. The edges are uneven.
You may be missing the first or last stitch. Mark the edge stitches and count each row.
2. The pennant curls.
Your tension may be too tight, or you may need a light blocking treatment suitable for your yarn.
3. The triangle leans to one side.
Check that you decrease once at each end of every shaping row.
4. The point looks bulky.
Avoid adding too many stitches at the tip. Complete the final decrease carefully.
5. The flags are different sizes.
Use the same starting chain, yarn, hook, and row sequence for each flag.
6. The joining cord looks uneven.
Mark the attachment points before joining and keep the gaps consistent.
7. The yarn ends come loose.
Weave each tail through several stitches, change direction, and trim only after securing it.
How to Customize Your Crochet Pennant Banner
Choose a color theme
Use red, white, and blue for a themed celebration, pastel shades for a nursery, or earthy greens and creams for a natural home decoration.
Make a seasonal garland
Create small banners for birthdays, holidays, weddings, graduations, or seasonal displays. You can change the colors without changing the basic pattern.
Add letters or appliqués
Once the flags are complete, attach small crocheted flowers, hearts, stars, or fabric letters. Keep the appliqués lightweight so the flags do not sag.
Change the border
A contrasting single crochet border creates a crisp outline. A neutral border gives a softer appearance, while a decorative scalloped edge can create a more traditional finish.
Make a longer banner
Add more flags and measure the total length before attaching the final cord. The number of flags depends on their finished width and the spaces between them.
Create a gift
A handmade pennant banner is a thoughtful gift for a new home, children’s room, classroom, or celebration. Choose colors that suit the recipient and include a small care note.
Finishing Instructions
Fastening off and weaving in ends
Secure the final loop after cutting the yarn. Weave the tail into the back of the crochet fabric with a tapestry needle, reversing direction to help prevent it from slipping out.
Blocking
Blocking is optional. If the flags do not lie flat, gently shape them on a flat surface. Use damp or steam blocking only if suitable for your yarn, and avoid exposing acrylic yarn to excessive heat.
Washing and care
Check the yarn label before washing. Remove detachable decorations if appropriate, wash gently, and reshape the flags flat to dry. Store the banner dry and away from direct sunlight for long periods.
Quick Printable-Style Summary
- Project: Crochet pennant banner
- Skill level: Beginner
- Yarn: Smooth cotton or acrylic
- Hook: Approximately 4 mm, adjusted to yarn
- Stitches: Chain, single crochet, single crochet decrease, slip stitch
- Starting chain: 13 chains
- First row: 12 single crochet stitches
- Shaping: Decrease one stitch at each end of each row
- Repeat: Make matching flags in your chosen colors
- Joining: Attach flags to a crochet chain or suitable cord
- Finishing: Weave in ends, shape the flags, and add optional tassels
Frequently Asked Questions
Is a crochet pennant banner suitable for beginners?
Yes. The basic version uses simple stitches and repeated shaping. It is particularly useful for practicing stitch counting and decreasing.
How many pennants should I make?
Five flags can suit a small display, while eight to twelve may work better for a longer wall or party decoration. Measure your space before deciding.
Can I use leftover yarn?
Yes. Small pennants are useful for using up yarn scraps. Try to use similar yarn weights so the flags remain reasonably consistent in size.
Why is my pennant curling?
Tight tension can cause curling. Check that your stitches are not overly tight, and consider gentle blocking if your yarn permits it.
Can I make the banner without tassels?
Absolutely. Tassels are decorative extras and are not necessary for the finished project.
How do I keep the flags evenly spaced?
Lay the banner flat before joining the flags. Use a measuring tape or stitch markers to keep the gaps consistent.
Can I hang the banner outdoors?
You can use it for temporary outdoor decoration, but sun, wind, and moisture may damage yarn over time. Bring it indoors when not in use and choose suitable materials.
Conclusion
This easy crochet pennant banner is a practical project for learning basic crochet techniques while creating something useful and decorative. Once you have completed your first flag, the remaining pieces become easier because you can repeat the same steps and experiment with different colors.
Save the tutorial for your next craft session, and consider making a matching crochet garland, mini bunting, or decorative wall hanging to complement your finished banner.





